
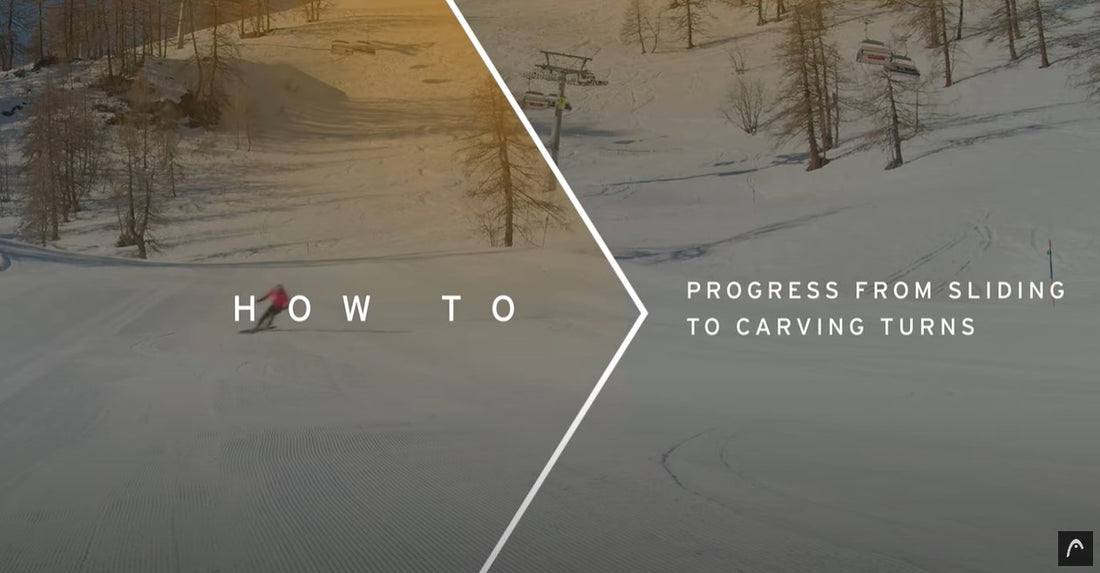
Carving turns are the holy grail of skiing and the most fun to play with the forces, but how do you get from sliding turns to carving turns?
To do your first carving turns you need to understand the concept of a carving ski.
The ski shown has a radius of 14m so that means that if you lay it down and let it glide over the snow it will turn in a radius of 14m. But, if you put pressure on it and bend the ski, you can do a shorter radius than that.
Here are a couple of simple drills you can do to
Drill 1
Let's start easy and let the skis do what they are built for. It will help you if you start this on pretty flat terrain and a smooth surface. Get into an athletic stance with slightly bent knees and hips. The upper body is always independent from the legs and will always point down the hill regardless of the ski direction. This is the biggest change to sliding turns as you were probably rotating your upper body a lot. This is a good drill to feel the edges and use the knees.
Drill 2
Go straight until you reach a slow to medium speed. Then it's all about the first impulse, this must come from the knees. All you're doing is putting the skis on the edges, and then be patient and trust the ski to come around. Keep up with your body so you're always balanced.
If you get this, try shortening the radius step by step. You do this by pushing on the outside ski and pushing the hip into the turn.
If you did clean carving turns you can look back and see your tracks in the snow looking like train tracks.